Trending Microgreens

- Next, to herbs – microgreens are some of the easiest edible plants that you can grow indoors – and some believe even easier! Check the menu of a fine restaurant or the produce section of a specialty grocery store, and you're likely to spy miceens: tiny, delicate greens that add color, texture and flavor to a dish as a garogrrnish or ingredient.
What are microgreens?
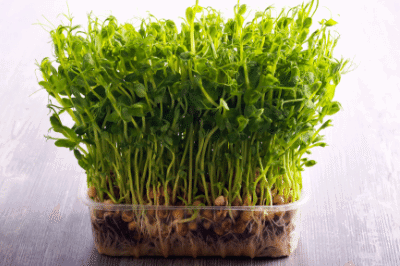
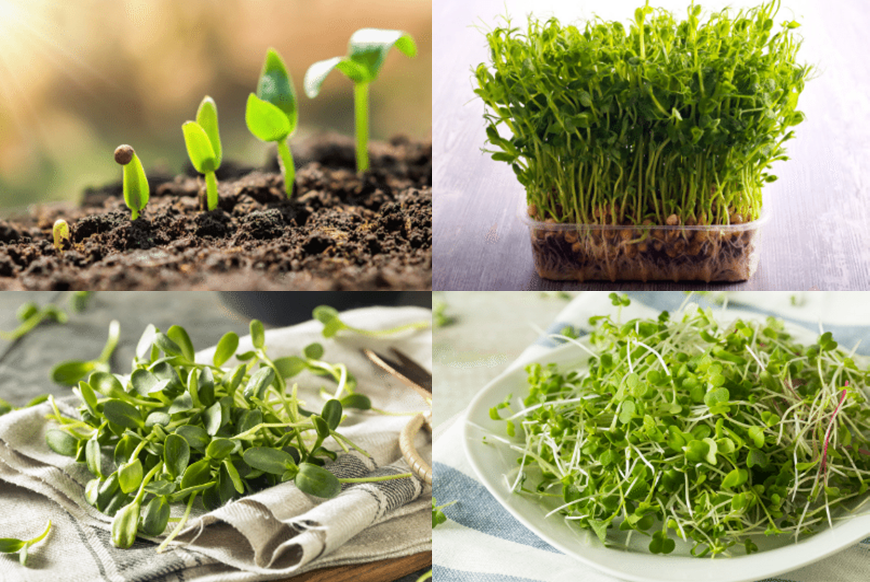
Also known as "vegetable confetti," microgreens are a generic term for immature greens, harvested soon after their sprouting stage, typically within 10-15 days when the first two seed leaves, also known as cotyledons, have formed. Microgreens are sometimes confused with sprouts — which are germinated seeds that are eaten root, seed and shoot. Big on nutrition and flavor, microgreens can be expensive to purchase. However, they can be grown cost-effectively at home, in a tiny space and with simple supplies. If you have a sunny windowsill, a shallow container, some potting mix and suitable seeds, you've got all the essentials for growing your own microgreens. Among the easiest and fastest-growing crops, microgreens offer a palette of fresh flavors, from mild to spicy, and inspire repeated plantings for an ongoing supply of fresh greens for creative uses.
Which seeds work best?
Salad greens, leafy vegetables, herbs and even edible flowers can be grown as microgreens, though some varieties are better suited than others. Beginners often start by growing one type of seed, such as broccoli, cauliflower, cabbage, mustard, radish, swiss chard, sunflower or cress — among the easiest-to-grow varieties of microgreens — in a single container. (You can easily grow different seeds in several containers and mix your microgreens after harvesting.)You can also find seeds for salad mixes and specially selected microgreen mixes that combine greens with similar growth rates, compatible flavors and beautiful coloring including reds, purples and greens. Since they were created with grower success in mind, they're an excellent choice for beginners.
Here's how to grow microgreens indoors:
Start by ensuring you have a warm, sunny windowsill and some small, clean containers. Plastic take-out dishes work well, as do clear fruit or salad boxes. If your chosen container doesn't have built-in drainage, poke a few drainage holes in the bottom. Then, prepare to plant:
Steps
- Read the seed packet to see if there are any special instructions.
- Cover the bottom of the container with a layer (approx. 3 – 4cm) of moistened potting soil or germination mix. A good option is coco peat, palm peat or coco husk. Peat, which is an organic growing medium, has a good water retention quality and allows germination to happen considerably faster. Flatten and level it with your hand or a small piece of cardboard, taking care not to over-compress the medium. Scatter seeds evenly on top of the soil or peat and gently press in, using your hand or the cardboard.
- Cover the seeds with a thin layer of vermiculite which will act like a warm blanket for the seeds and promote fast-acting germination. Dampen the surface by spraying a little bit of water. (Use a spray bottle with a fine mist)
- While waiting for sprouts to appear, usually within three to seven days, use the mister once a day to keep the soil moist but not wet.
- Once seeds have sprouted, continue to mist once a day.
- Microgreens need about four hours daily of direct sunlight to thrive. In winter months, some may need even more. Leggy, pale greens are a sign of not enough sunlight. If your space is too shaded, consider investing in a grow light.
Depending upon the type of seeds you've selected, your microgreens will be ready to harvest about two to three weeks after planting. Look for the first set of "true leaves" as a sign of readiness. Then grab your scissors and snip the greens just above the soil line. Don’t forget to repeat the process as you can’t use the germinated seedlings once you have harvested the micro leaves. To serve, wash the microgreens with water and dry with paper towels or a salad spinner. Harvest and serve them immediately for the freshest flavor, and add to soups, salads, sandwiches or main dishes. Store remaining cut microgreens in a plastic bag in your refrigerator.


